How to Install Your eSIM
Follow our simple step-by-step guide to get your eSIM up and running in minutes.
Confirm Installation
Tap 'Continue' and follow the on-screen instructions to complete setup
- Enable international data roaming for your eSIM in cellular settings
- Set your eSIM as the primary data line in your cellular settings
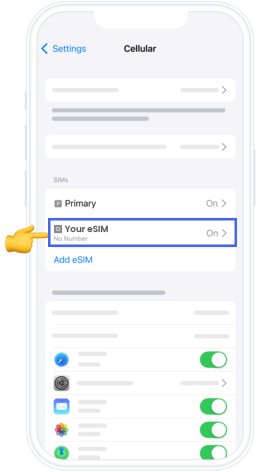
Your eSIM
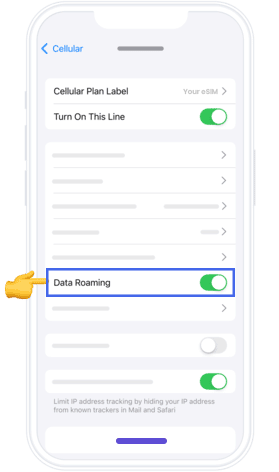
Enable Data Roaming
Complete Setup
Follow the prompts to activate your eSIM
- Enable international data roaming for your eSIM in network settings
- Set your eSIM as the primary data connection in your network settings
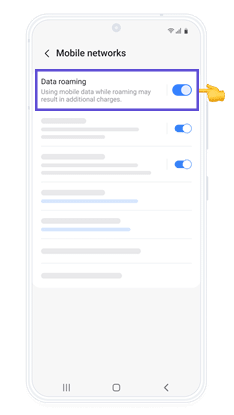
Enable Data Roaming
How Orbit eSIM Plans Work
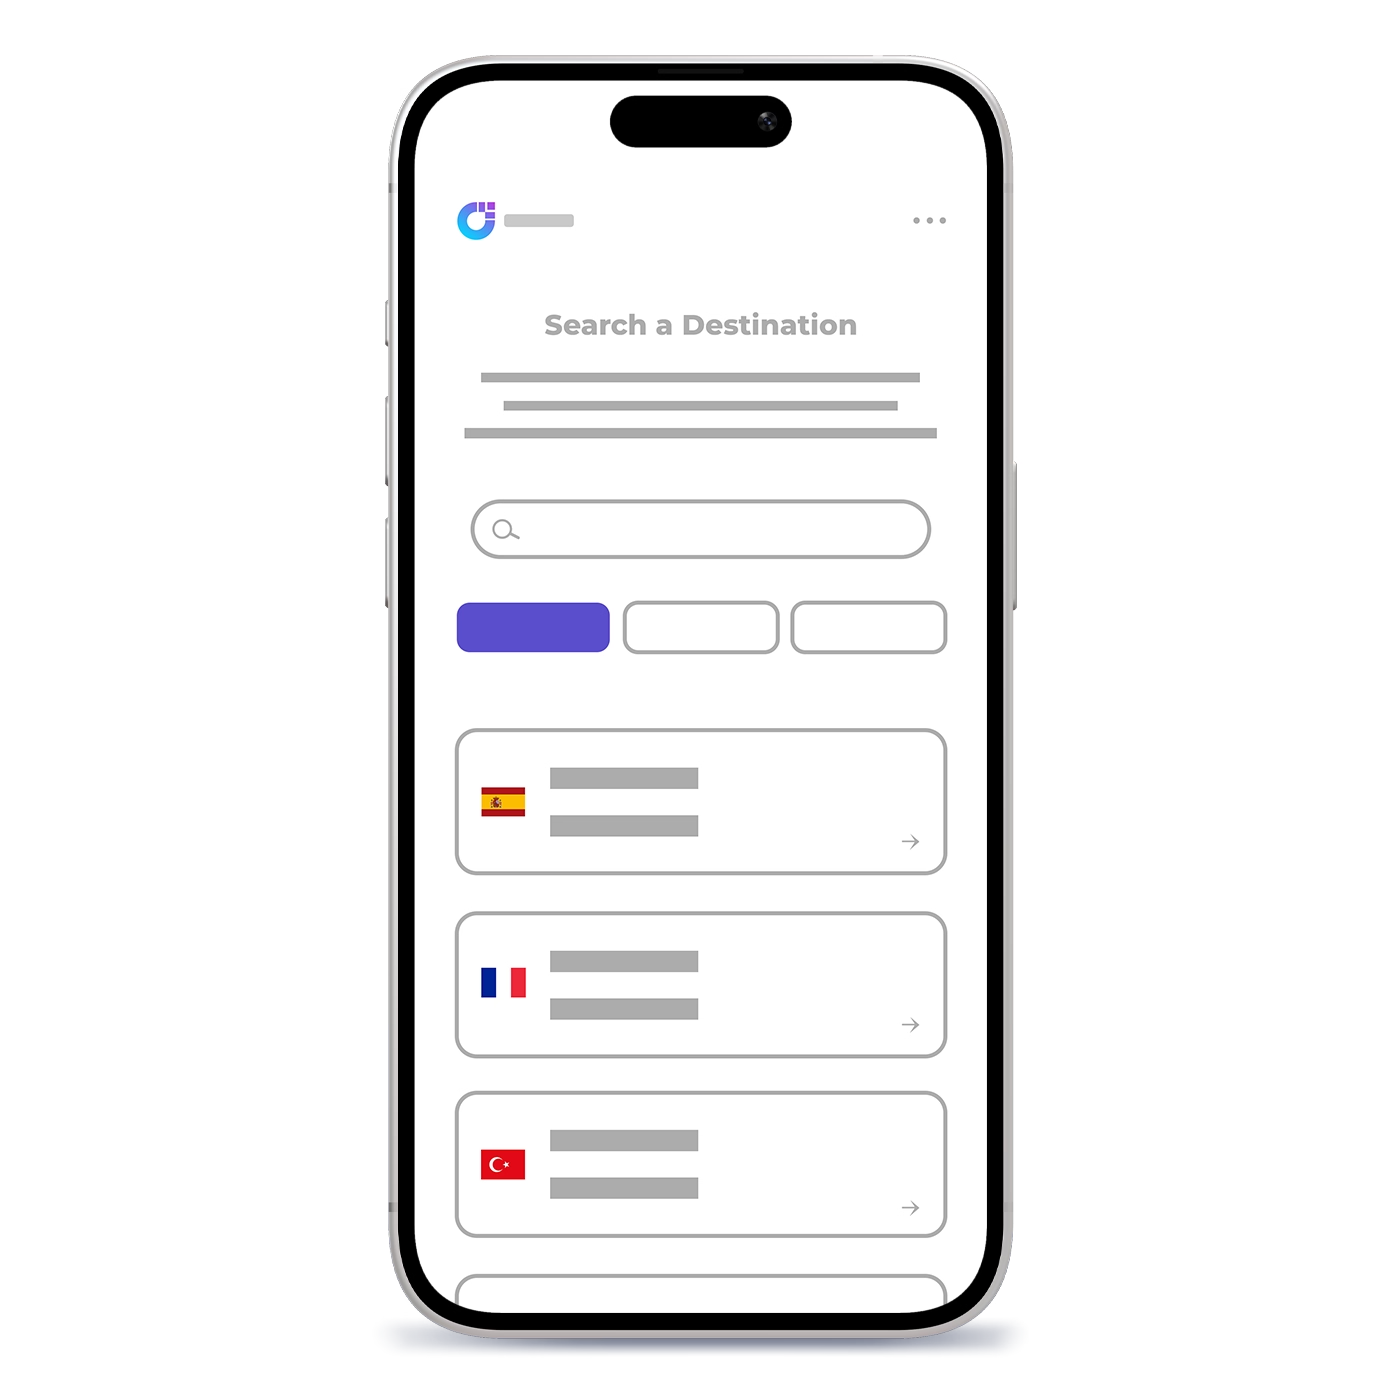
Choose Your Destination
Select your destination and find the perfect eSIM package for your needs
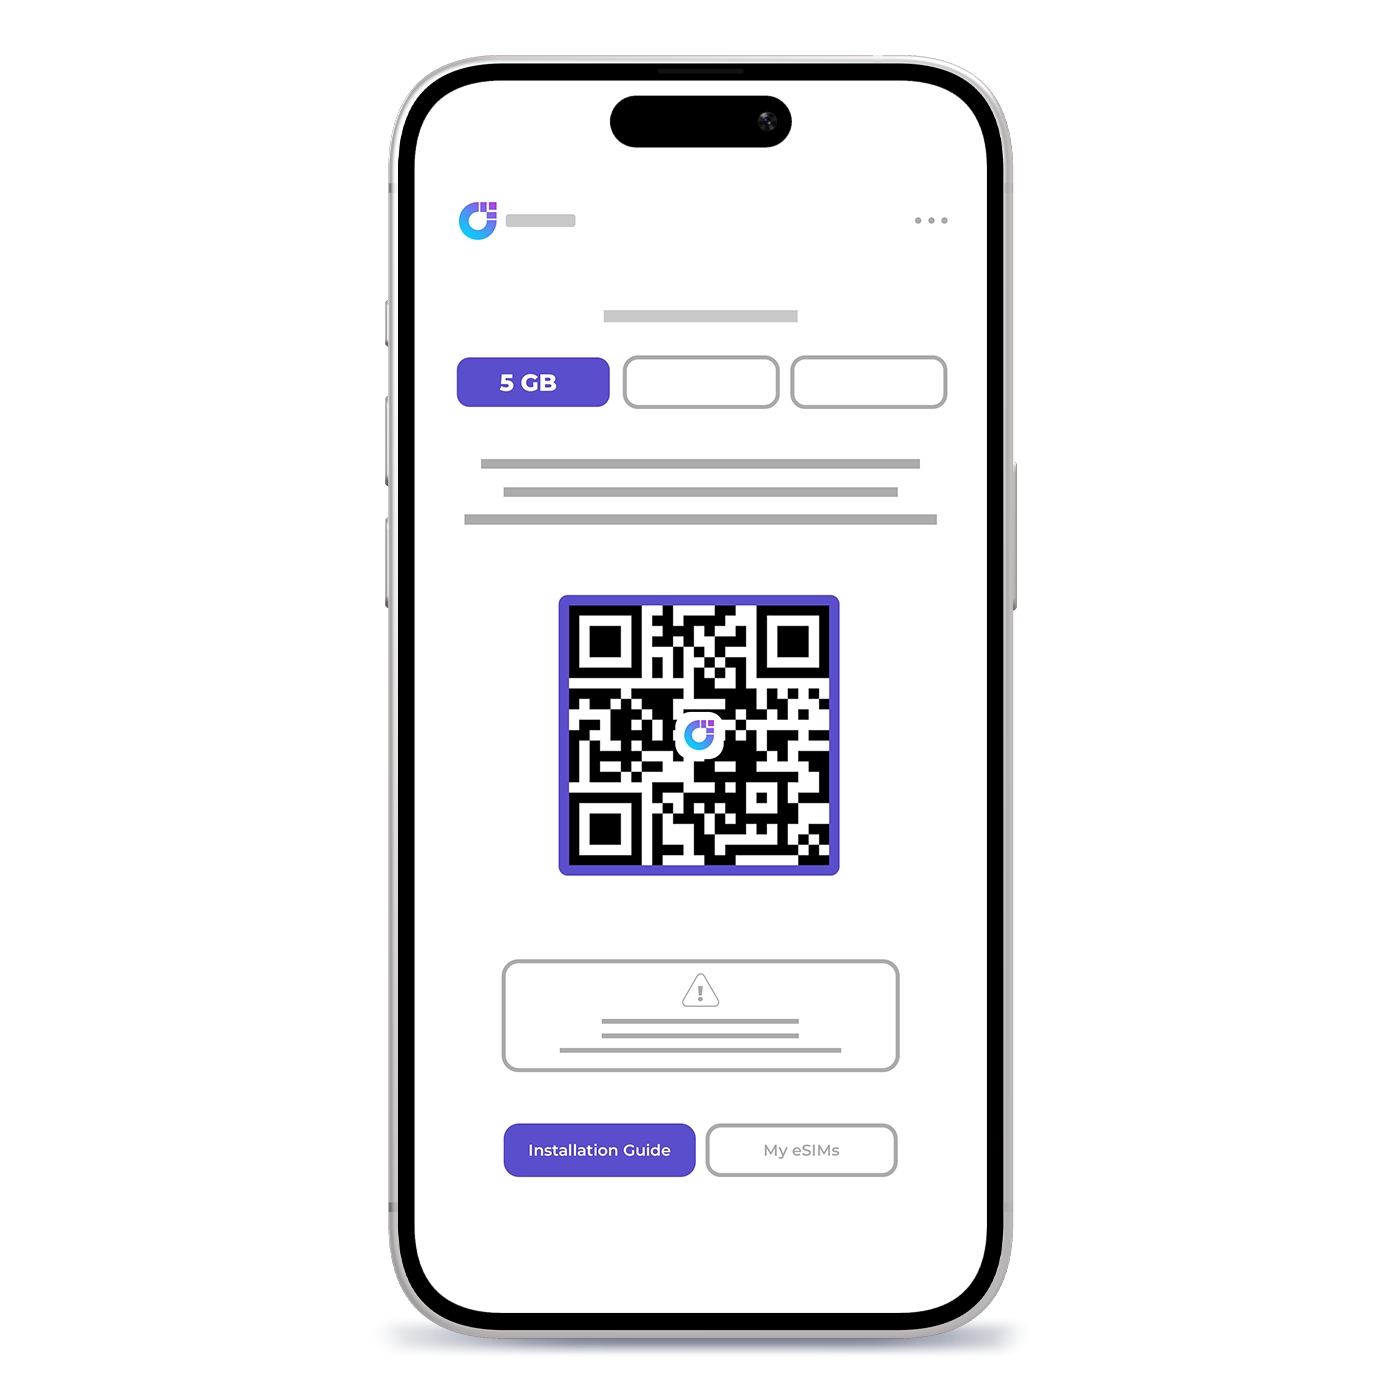
Install Your eSIM
Scan the QR code to install your eSIM instantly on your device
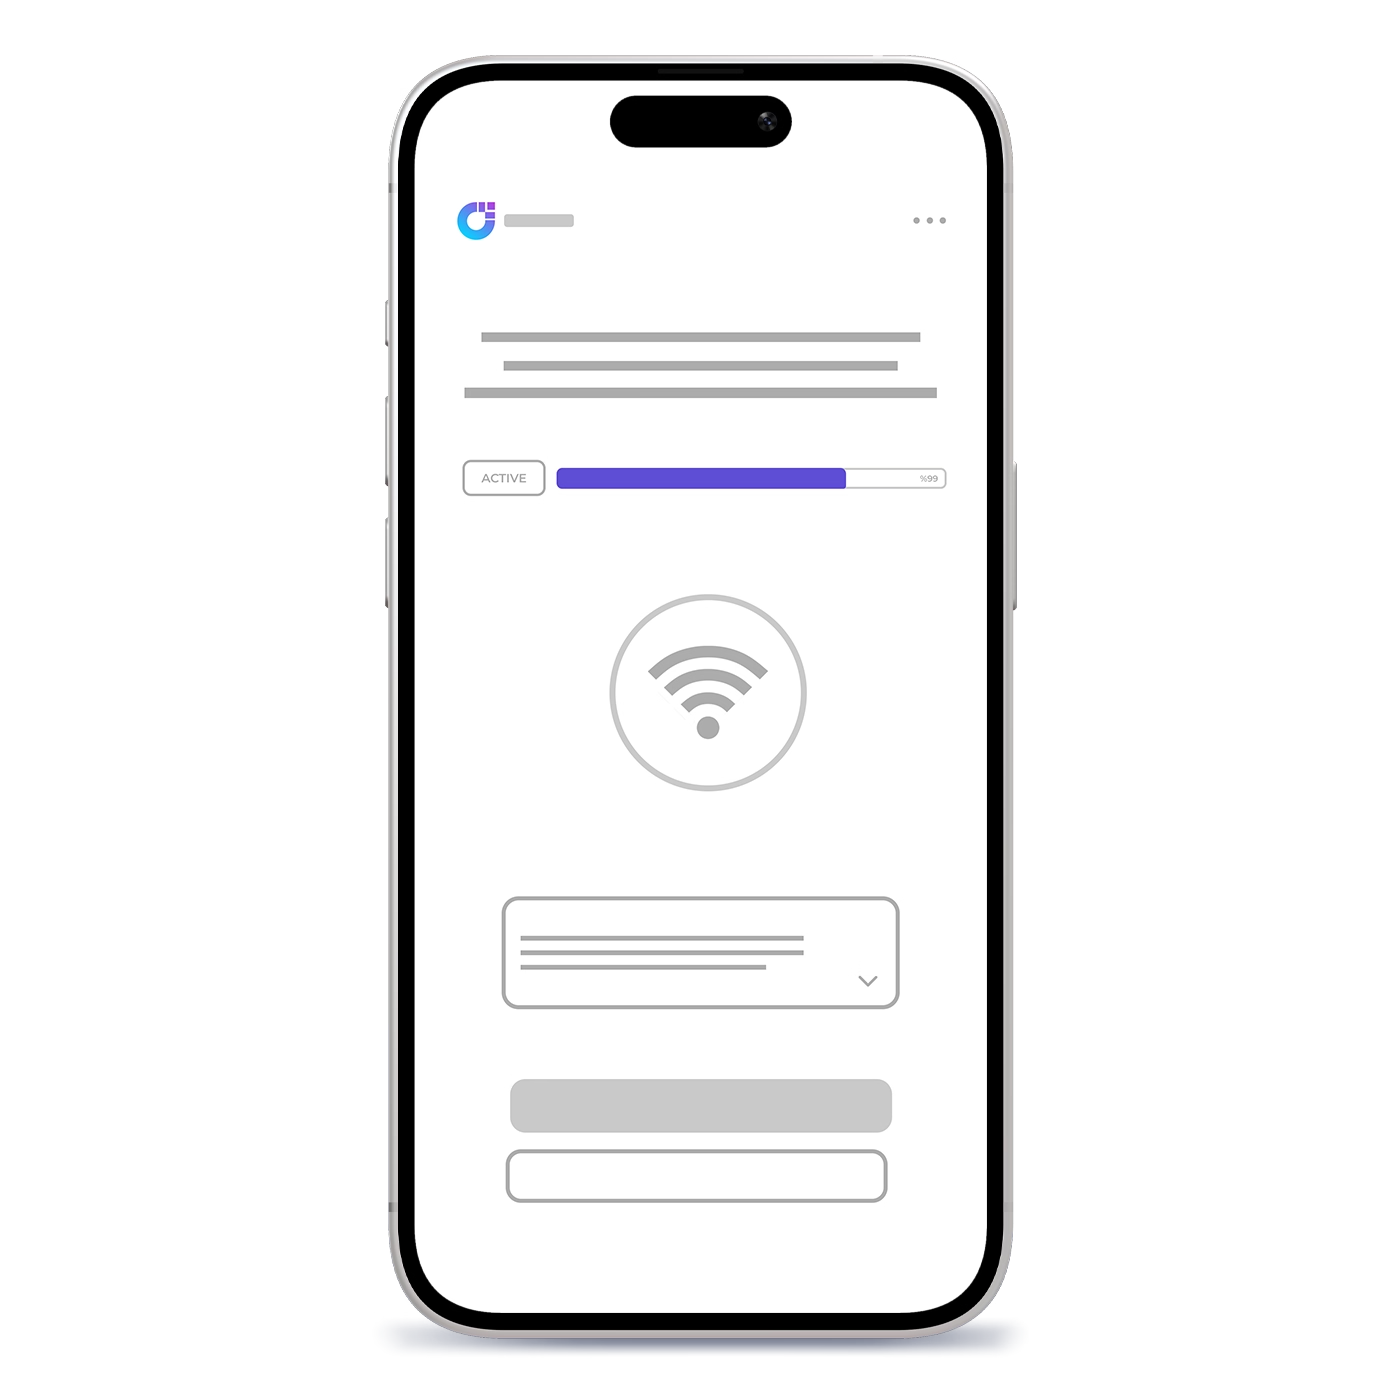
Quick Activation
Activate your eSIM with one click when you arrive at your destination
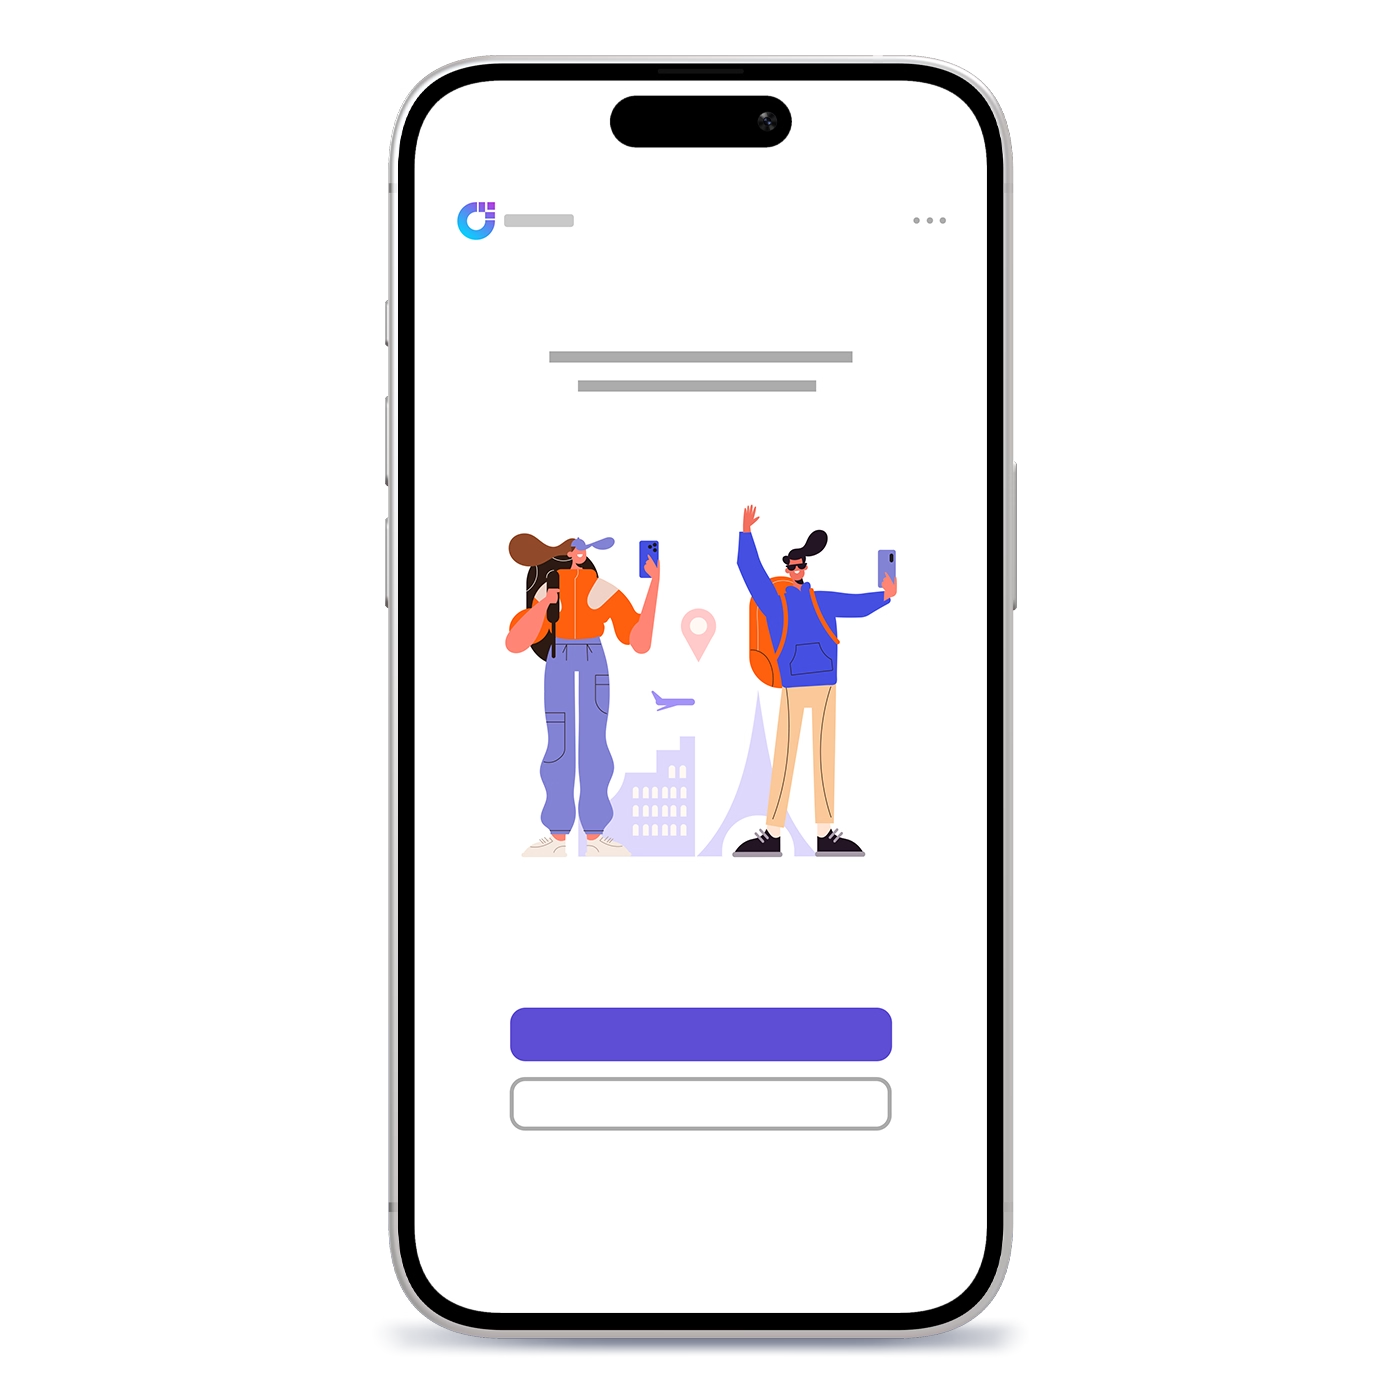
Explore the World
Enjoy high-speed internet throughout your journey
Customer Reviews
See what our users say about their experience

Easy to set up and worked right away. Used it for my business trip and didn’t lose signal once. Way better than buying local SIMs each time.
Wasn’t sure at first but it actually worked great. Got data the second I landed and speed was solid everywhere. Super handy for travel.
Used it while in the UAE and had full signal the whole week. Even worked great in the desert tour area. Really happy with it.
Honestly just simple and works. Installed fast, no weird setup, and data stayed strong during my trip. Would use again for sure.
Frequently Asked Questions
Everything you need to know about our eSIM service